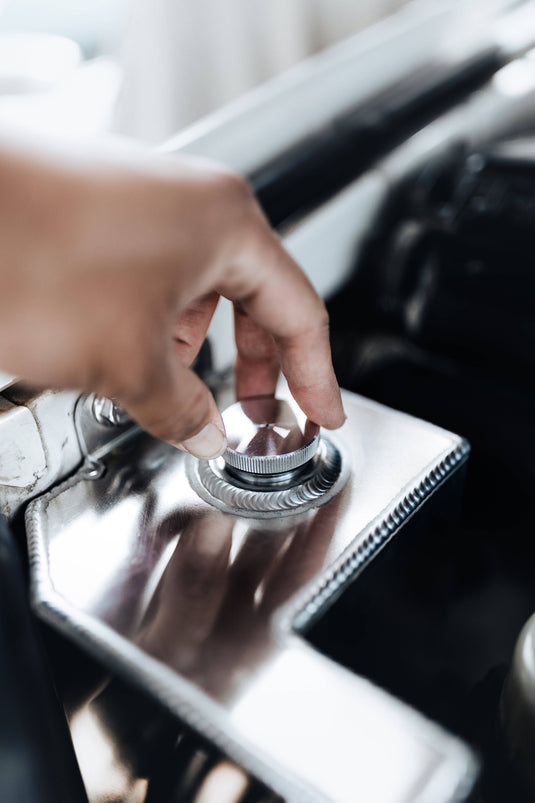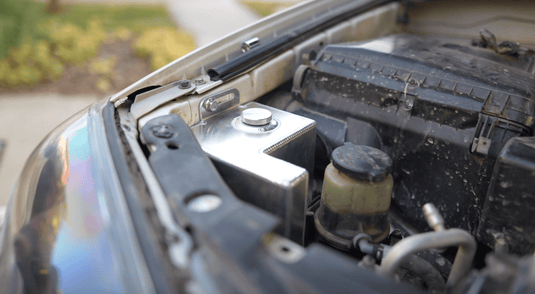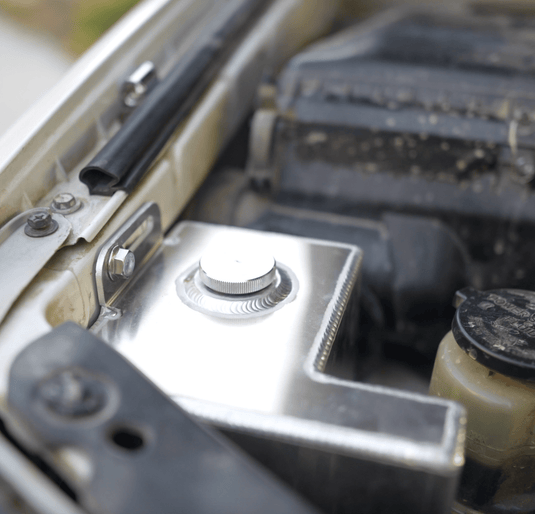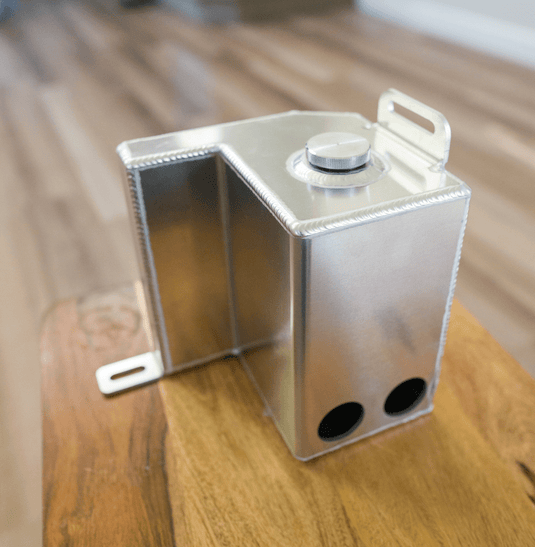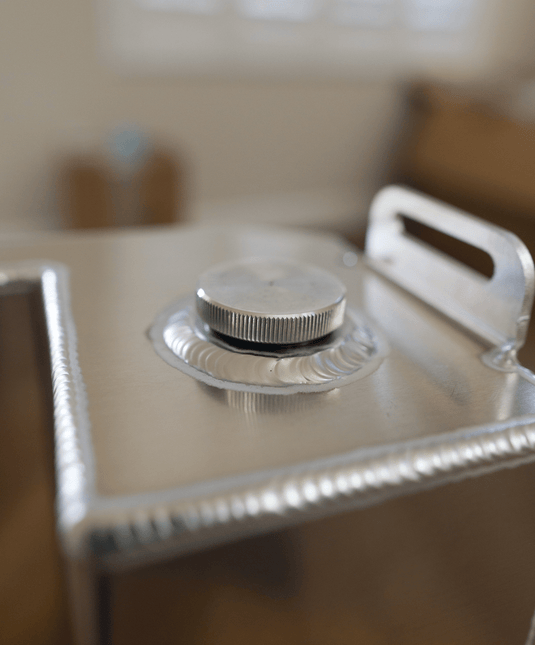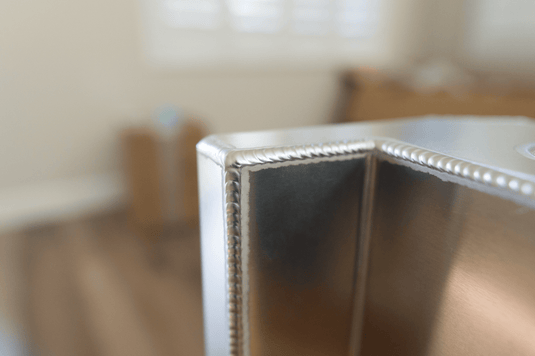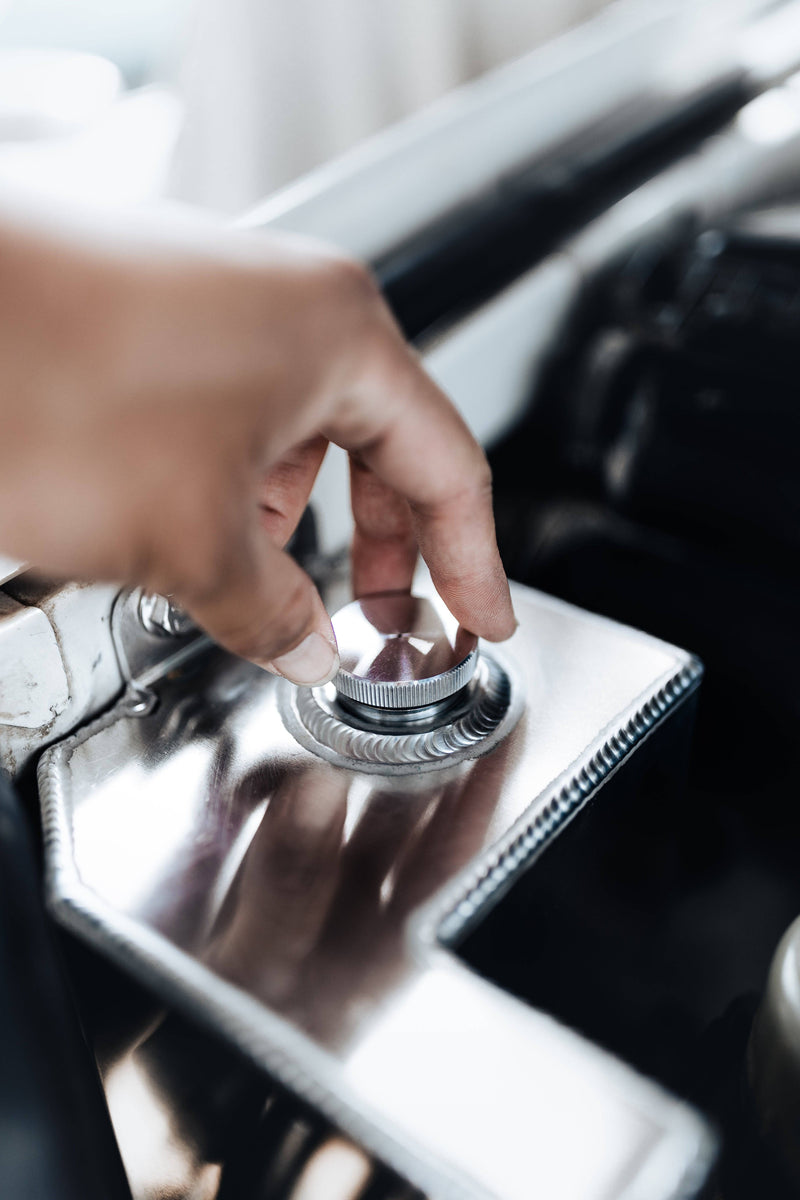
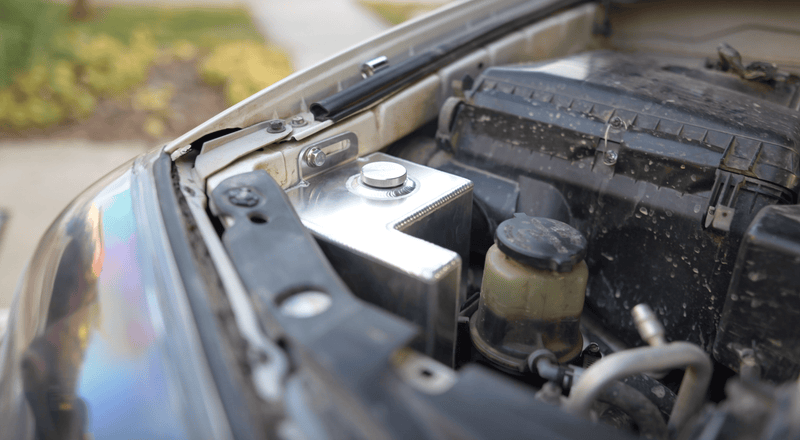
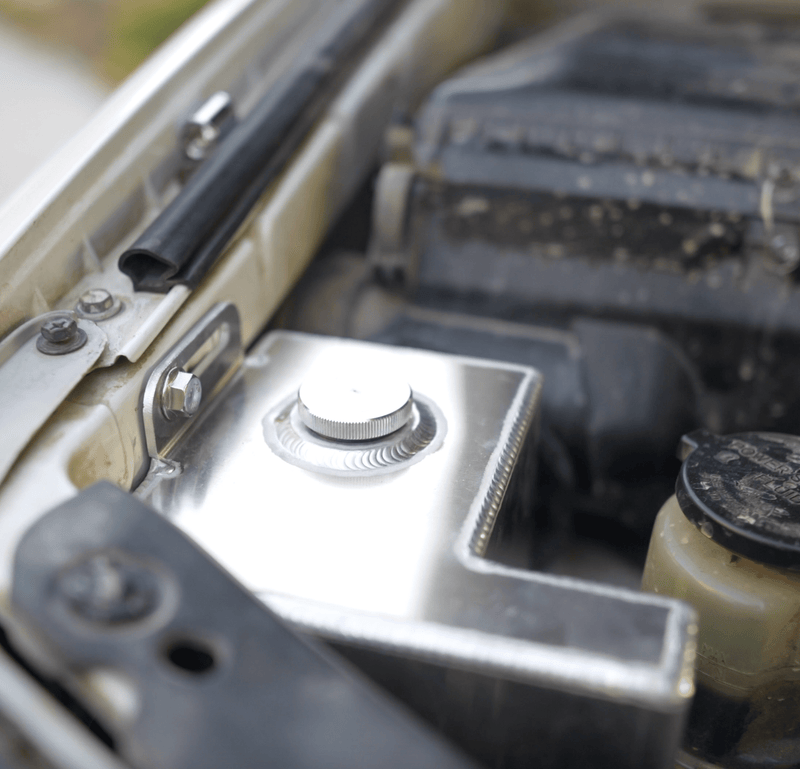
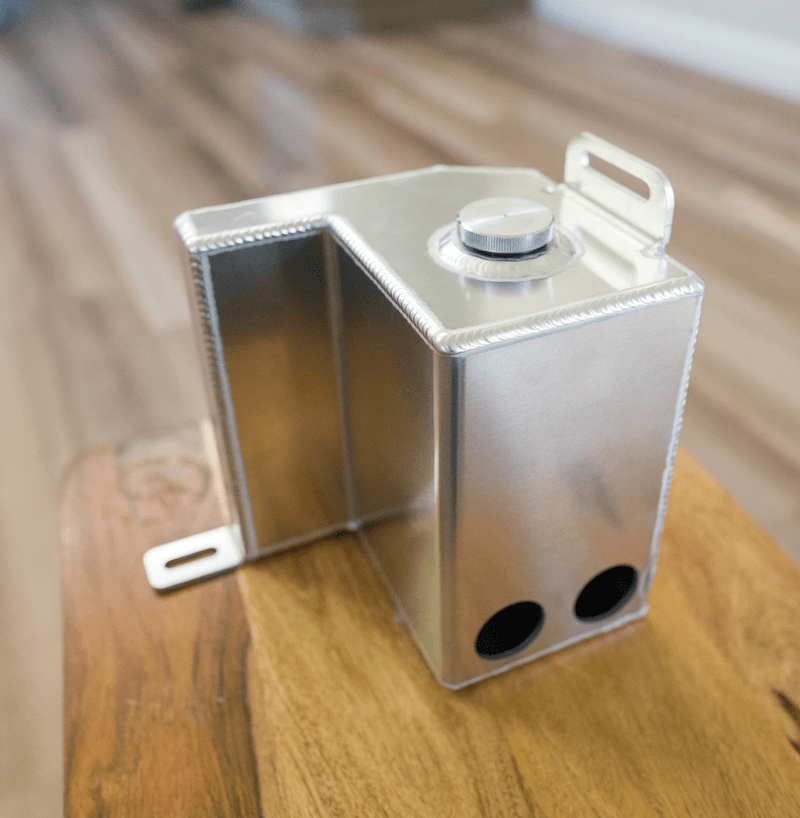
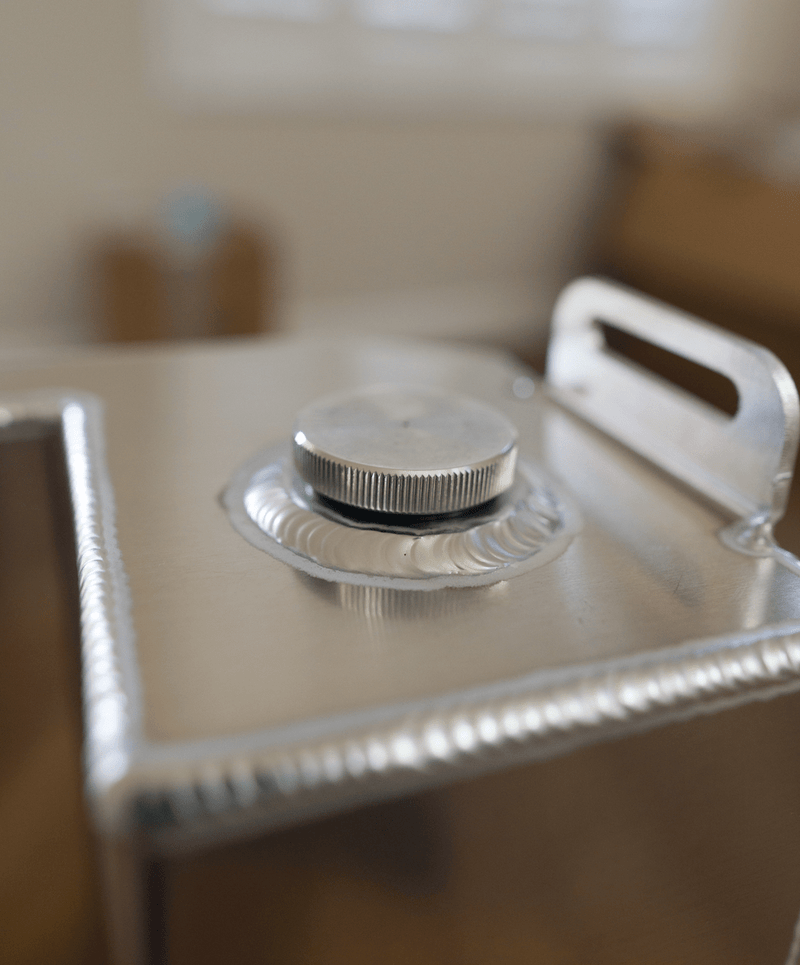
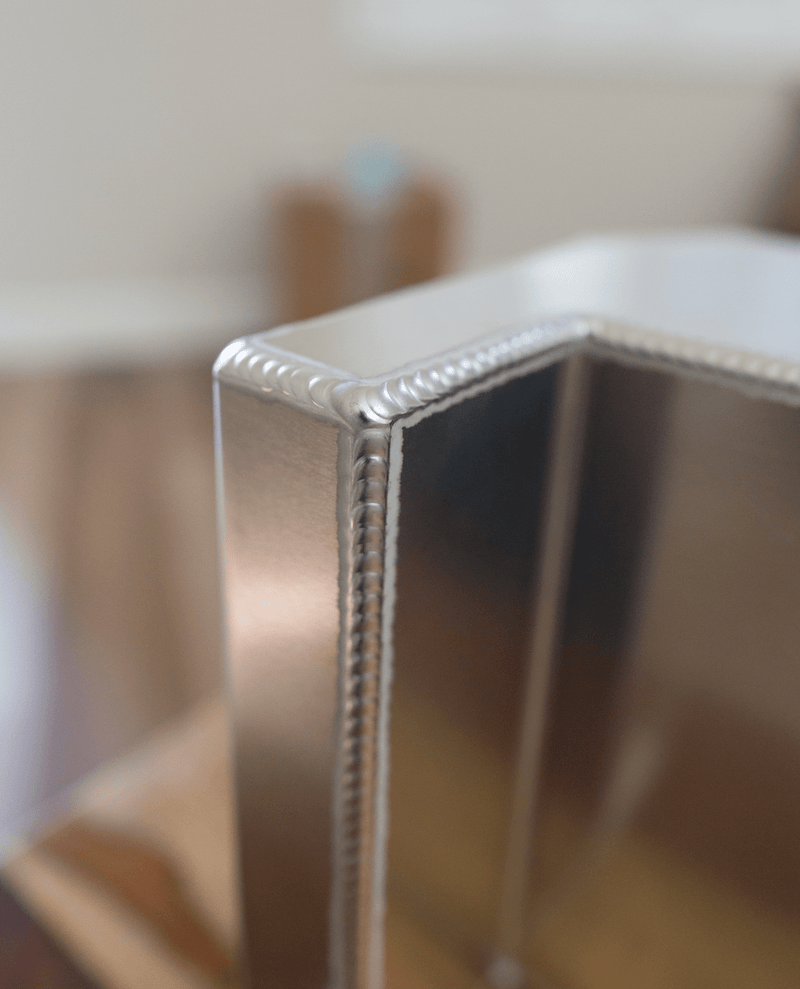
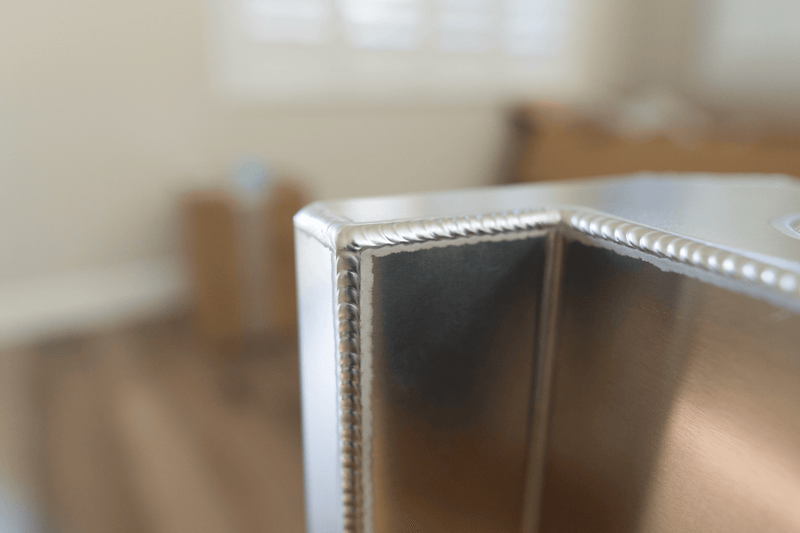
Introducing the GX 470 (03-09) washer fluid relocation reservoir. This replaces the factory washer fluid reservoir with a custom made aluminum reservoir. The reservoir sits behind the passenger side headlight and in front of the air box. Welded together from 5052 aluminum with a custom vented billet aluminum cap made from 6061 aluminum.
The reservoir mounts to the factory power steering bracket at the bottom and also includes two nutserts and bolts to mount to the body at the top.
Why do I need to relocate my reservoir?
There are a variety of reasons, but here are some of the most common.
- High clearance bumpers are designed to maximize approach angle. This means that the factory reservoir, pumps and hoses are left completely exposed to damage from rocks and branches, defeating the purpose of having a high clearance bumper in the first place.
- Large tires will cause the tires to hit the factory reservoir when the suspension is fully compressed and can cause damage to your washer fluid reservoir.
- Wheels with a lot of offset or wheel spacers will increase the scrub radius and therefore cause the tire to swing out and into the factory reservoir resulting in damage.
- Having the pumps and hoses exposed is an eyesore!
Vehicle Fitment
Designed to fit in the engine bay of a GX 470
Product Specs
-
Holds 3 Liters of fluid which is double the amount of most other relocations on the market
-
Reservoir body and bracket welded from 5052 Aluminum
- Billet cap cut from 6061 Aluminum
- Billet cap is vented with a stainless steel vent to allow inside pressure to equalize
- Includes hardware - 1 rivnut, 1 bolt and 1 washer
- Utilizes your OEM Pumps and gaskets
- Eliminates Low Fluid Sensor (some vehicles do not have this to start with)
Installation
Please watch the installation video shown here on our YouTube channel! Or follow the instructions below.
1. Remove factory washer reservoir. Unplug wires to ease with removal. Do NOT throw away the rubber gaskets in the pump holes.
2. Reroute hoses and wires into the engine bay. You may need to unclip some hooks.
3. Remove the frontmost bolt holding the bracket for the steering pump reservoir.
4. Install gaskets from original washer fluid reservoir and install into the two holes at the bottom of the new one. Place new reservoir into position with the bottom mounting point on top of the steering pump reservoir bracket and lightly bolt into place. Position the reservoir.
5. At the topmost mounting point, mark a spot with a marker where the new mounting point will be drilled. Use a punch to make a small mark to start the hole. Remove the reservoir and drill the hole until the rivnut fits into place. I recommend using a 7/16" hole but I suggest starting with a smaller hole and slowly working up in sizes until it fits.
6. Using a Rivet Nut Installation tool, install the rivnut with a M8 tool attachment to make a permanent mounting hole. If you do not have a Rivet Nut Installation tool, either borrow one from a friend or buy one. Make sure the M8 bolt screws into place smoothly. A great one that I use is on Amazon listed here. These are one of the most underrated tools and can be used for many projects to allow for a more professional looking installation.
7. Install the pumps into the new reservoir and reroute wires into place. Place the reservoir into position and bolt it down at both locations. Fill with water and test your wipers to make sure you have plugged the wires into the correct locations. You are now done!
~ This product is highly custom. There may be minor blemishes on the surface of the reservoir that will not affect the performance of the product. The reservoir is guaranteed to be watertight and includes a 1 year warranty. Warranty covers normal use scenarios of the product and does not cover abuse or neglect. This reservoir utilizes the OEM gaskets. If your OEM gasket is brittle, then it may be a good idea to replace the gasket!

